Integrate Slack with Magento 2
Slack is an extremely useful tool for every conversation. Channels can be divided by team, project, client, whatever else is suitable for your purposes. Especially, Slack supports multiple platforms such as Windows, Linux, Mac OS, and Web. Additionally, by using Mageplaza Webhook extension to integrate Slack with Magento, Slack can become an effective marketing media channel for your store. In this post, I will show you how to integrate Slack with Magento 2, but first of all, let’s talk about What is Webhook.
What Is Webhook?
Webhook is a helpful tool which allows online stores to configure to send an API request to a configurable destination (URL) such as other servers or applications in cases trigger events including new order, customer login, abandoned carts, etc occur. As a result, store owners can instantly update important notifications and have suitable activities shortly.
Table Of Content
- What Is Webhook?
- About Slack
- How To Integrate Slack With Magento 2 With Webhook
- The Result Shown In Slack
- Conclusion
These entities of Magento which Webhook supports:
- Customer
- Order
- Invoice
- Shipment
- Credit Memo
- Product
- Category
- Abandoned Cart
These entities which Slack supports:
- api
- apps.permissions
- apps.permissions.resources
- apps.permissions.scopes
- apps.permissions.users
- apps
- auth
- bots
- channels
- chat
- conversations
- dialog
- dnd
- emoji
- files.comments
- files
- groups
- im
- migration
- mpim
- oauth
- pins
- reactions
- reminders
- rtm
- search
- stars
- team
- team.profile
- usergroups
- usergroups.users
- users
- users.profile
How To Integrate Slack With Magento 2 With Webhook
Instructions For Registering And Using Slack
Access to here > Click GET STARTED button on the top right corner of the screen, then you will see the below interface:
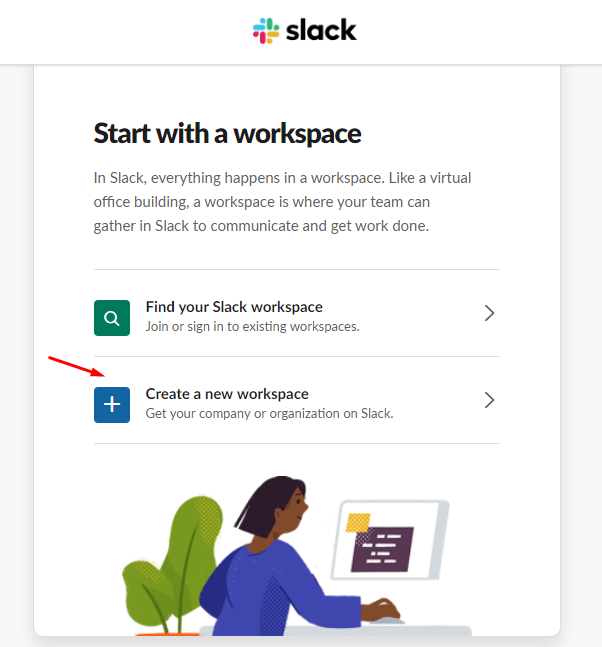
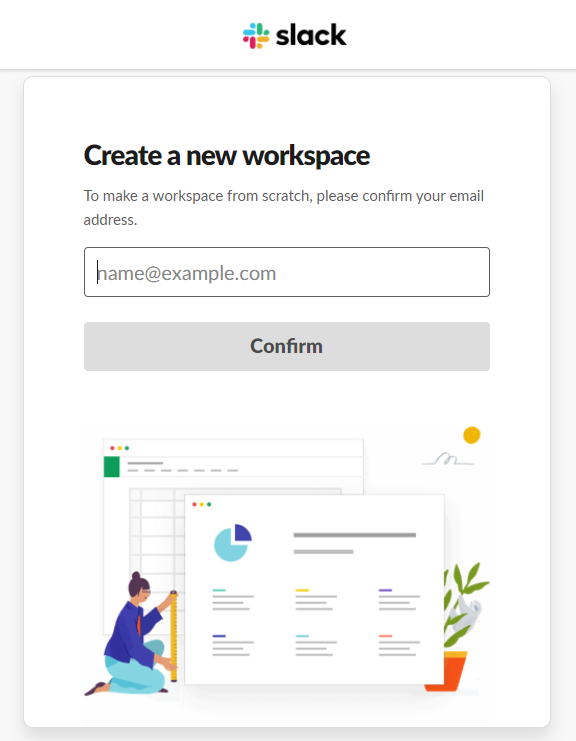
Click Create a new workspace to create a new workspace, enter the email on the blank box, as below, then click Confirm button:
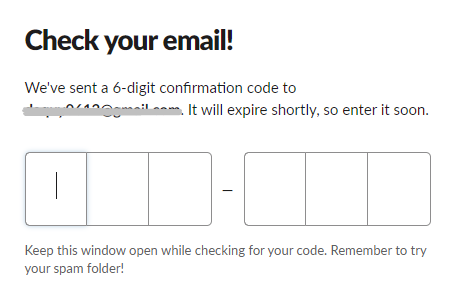
You need to check your email to get the code and enter this code in the blank boxes:
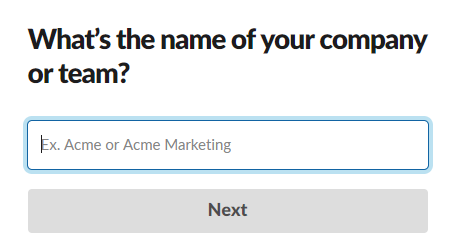
After you enter the valid code, the system will move to the next page. In this page, you need to enter the name of your company or team on the blank box, as below > Click Next button:
Enter the name of a project your team is working on > Click Next button:
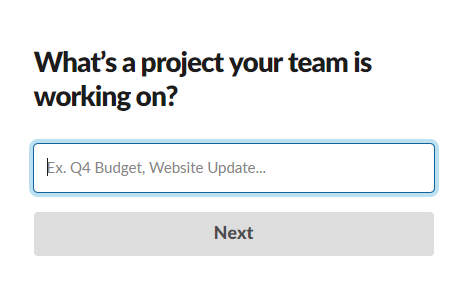
Enter the email of other people who are working on this project, or you can skip this step.
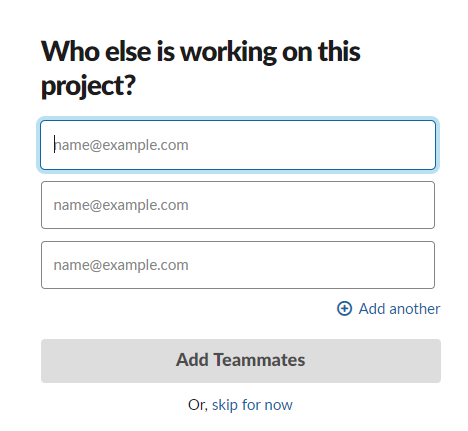
So, you create completely workspace in Slack, click See Your Channel in Slack button to view your channel.
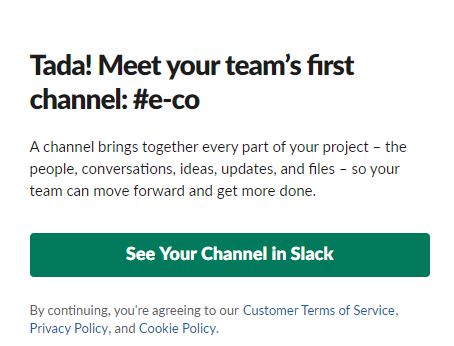
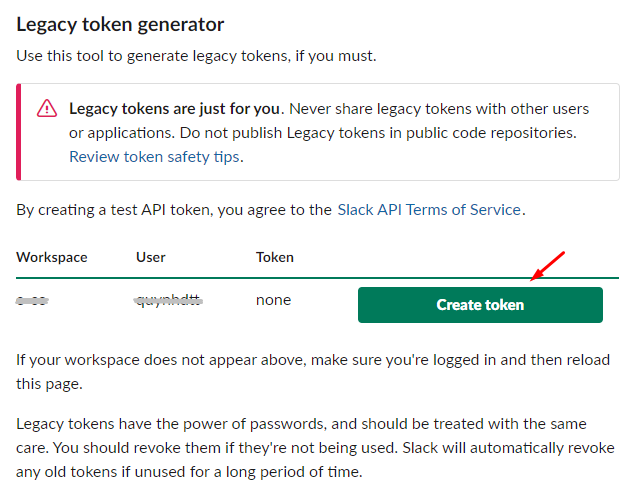
By creating a workspace in Slack, you log in Slack successfully. Then, access here and click to Create token button to create a token.
These Fields Of Slack:
To view the latest fields of Slack, you can click here, then click to the method to see these fields for each method.
Instructions For Creating Hook
In this part, we introduce you to create hook with new_product in Magento. When you add a new product in Magento 2 store, this product will be shown automatically on your channel.
- Required fields:
- channel
- text
- Optinal fields:
- as_user
- attachments
- blocks
- icon_emoji
- icon_url
- link_names
- mrkdwn
- parse
- reply_broadcast
- thread_ts
- unfurl_links
- unfurl_media
- username
I will give detail instructions on how to configure Webhook which helps Magento 2 integrate with Slack.
From the Admin Panel, go to System > Webhook > Manage Hooks, select Add New on the right corner, then you will see many options including New Order, New Customer, Update Customer, Delete Customer, etc.
Step 1: Fill all information in the General Information tab
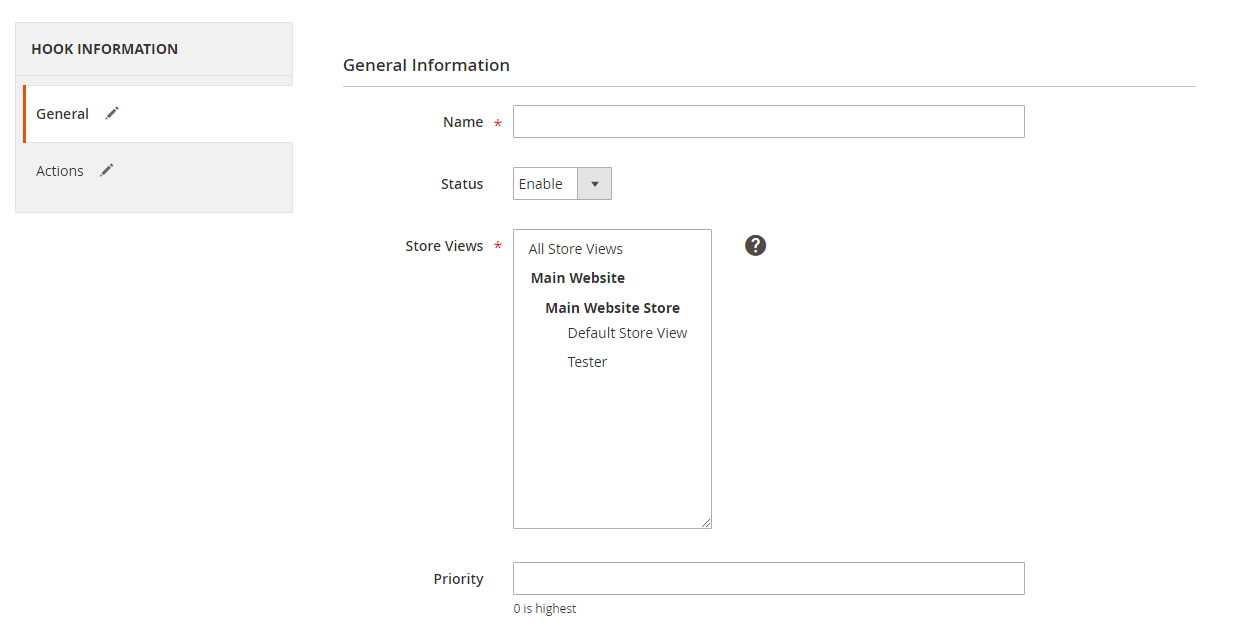
Step 2: Enter the data on the Action tab
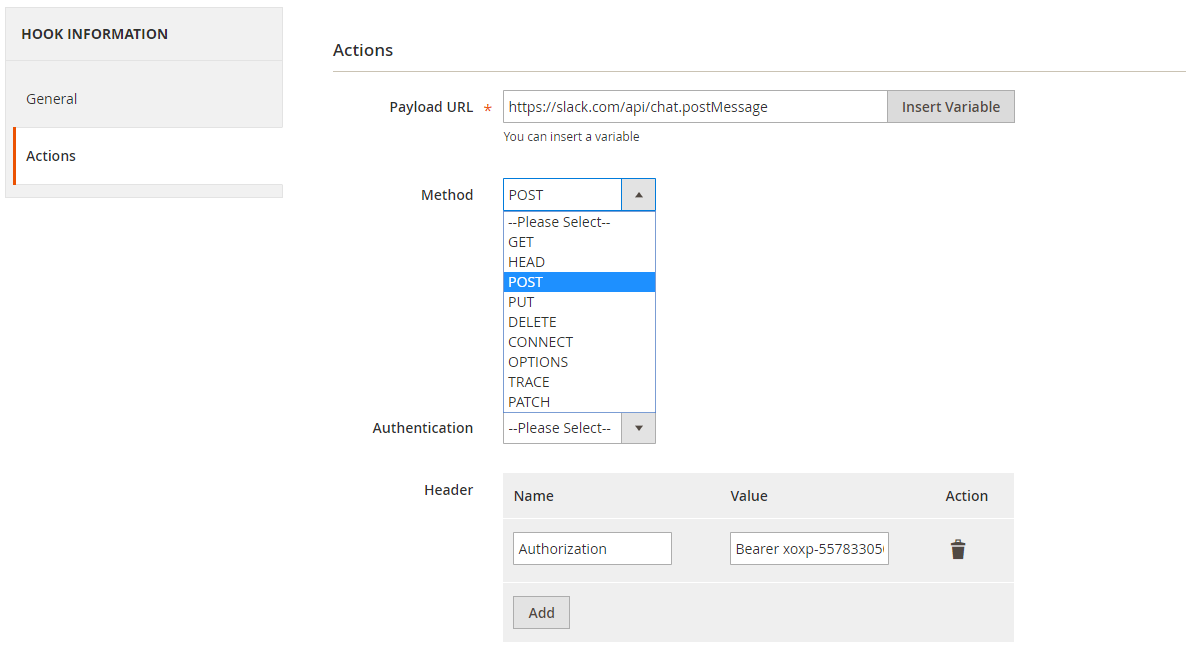
- Notes:
- Payload URL:
- POST method: chat.postMessage: https://slack.com/api/chat.postMessage
- Other methods: Please click here to know more details.
- Header
- Name: Authorization
- Value: Bearer {your_token} with {your_token} is token which you created, according to the above instruction.
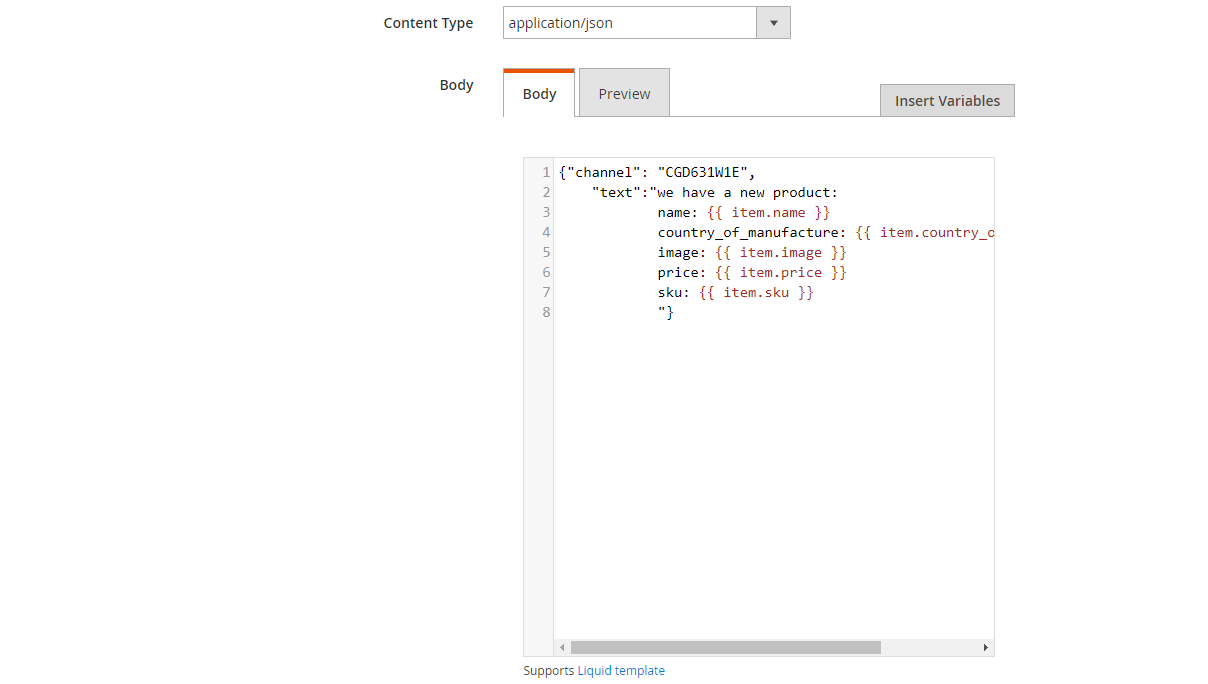
- Content Type: application/json
-
Body: With POST or PUT method, you need to add content on the Content section to send the request. Click Insert Variable to choose variable.
- For example: When you create a new product in Magento, and you want to introduce this product on Slack channel, you need to insert the below content on the Body part:
- Payload URL:
{"channel": "CGD631W1E",
        "text":"we have a new product:
                        name:
                        country_of_manufacture:
                        price:
                        sku: "
}
Note: In the text field, you can use Insert Variable to get value from Magento. In addition, you can also use this compatibility for other entities such as new_customer, new_order, etc.
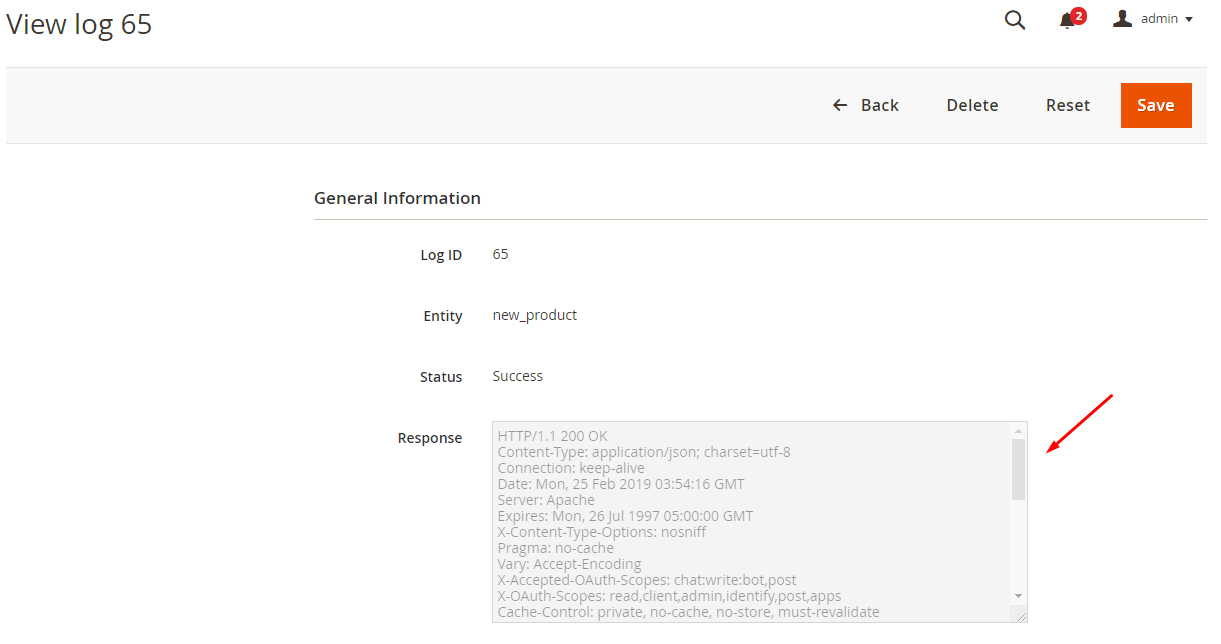
The result of creating a hook

When you add a product, the data information will be saved on Hook Logs:

Click Select > View to redirect to view log page where you can view data information:
The Result Shown In Slack

Conclusion
In this tutorial, we introduce how to register Slack, create the hook with Mageplaza Webhook Extension to integrate Slack with Magento 2. In addition, you can refer to other useful extensions for your store here.
Back Ask Mageplaza