Integrate amoCRM with Magento 2
AmoCRM is a platform which supports automatic the whole sales process from collecting potential customers to boost store sales with applications such as Messenger, Skype, Wechat, Telegram, Viber, WhatsApp. You can connect with customers via their favorite contact method with just by a click. Currently, Magento 2 does not support integration with AmoCRM. To solve this problem, Mageplaza develops Webhook extension to integrate Magento 2 with AmoCRM. As a result, you can manage and grow your business easily.
What Is Webhook?
Webhook is a helpful tool which allows online stores to configure to send an API request to a configurable destination (URL) such as other servers or applications in cases trigger events including new order, customer login, abandoned carts, etc occur. As a result, store owners can instantly update important notifications and have suitable activities shortly.
Table Of Content
- What Is Webhook?
- About amoCRM
- How To Integrate amoCRM With Magento 2 With Webhook
- The Result Shown In amoCRM
- These Available Body Templates
- Conclusion
These entities of Magento which Webhook supports:
- Customer
- Order
- Invoice
- Shipment
- Credit Memo
- Product
- Category
- Abandoned Cart
These entities which amoCRM supports:
- Leads
- Contacts
- Accounts
- Notes
- Tasks
- Incoming Leads
- Custom Fields
- Piplies and Stagers of Sales
- Customers
- Companies
How To Integrate AmoCRM With Magento 2 With Webhook
Instructions For Registering And Using AmoCRM
Access to here, click the Try it for Free button:
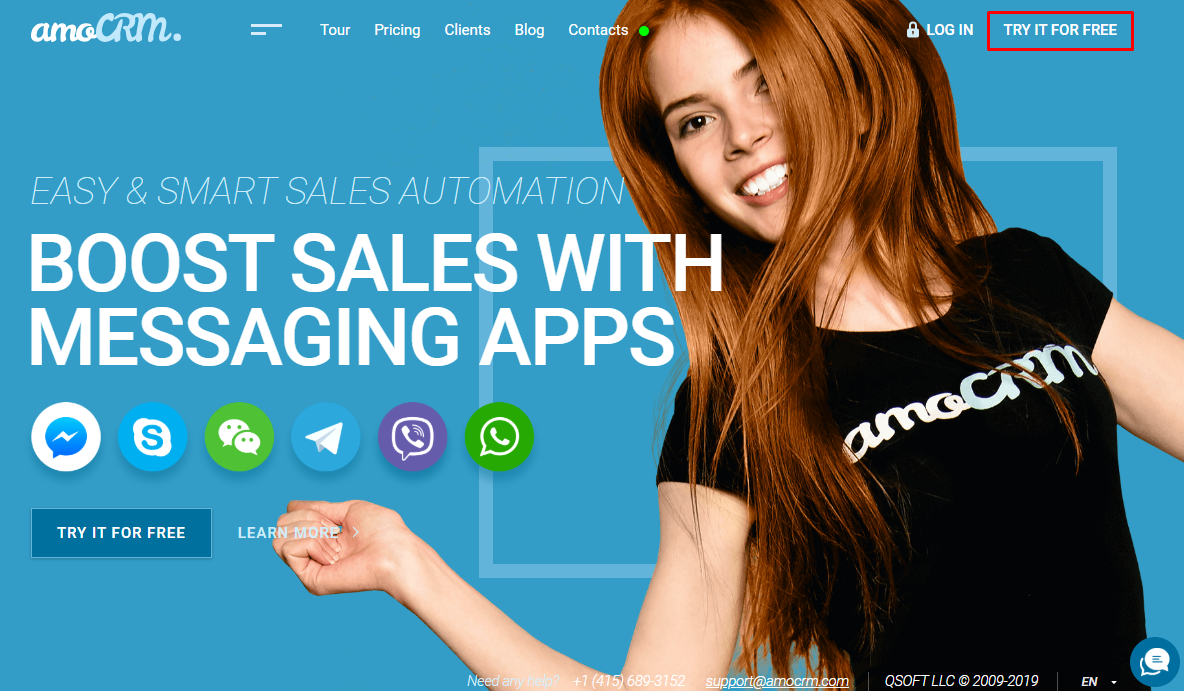
Here, you will see 3 options: Sign up with Facebook, Google, and Email. Please choose the one suitable way to sign up.

Fill information in this below form, click to the Save & Proceed button and take the next steps

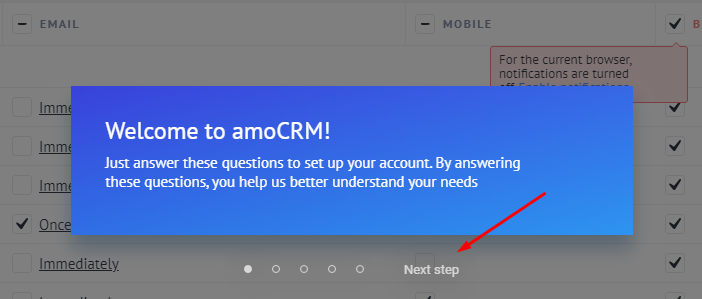
You can skip these steps by clicking Next step
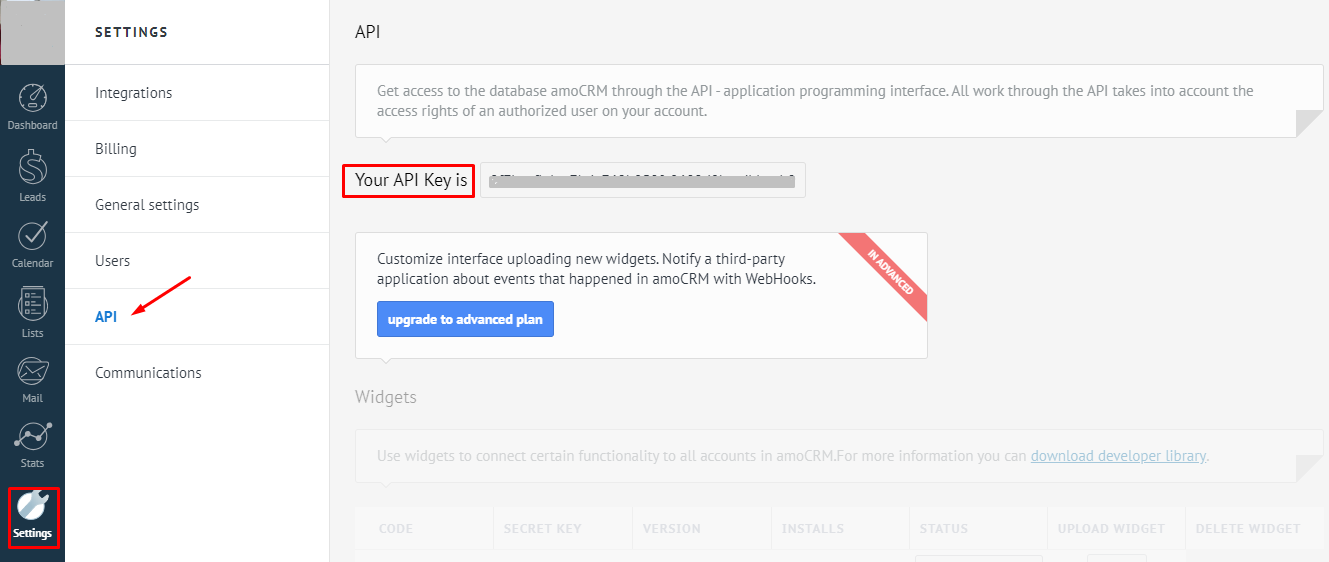
After registering successfully, select Settings on the bottom left corner, then click API to get your API Key.
These Fields Of AmoCRM:
To view the latest fields of amoCRM, you can click here
Instructions For Creating Hook
How to create a new lead in amoCRM via Magento 2
- Required fields
- name
- Optional fields
- created_at
- updated_at
- pipeline_id
- responsible_user_id
- sale
- tags
- contacts_id
- company_id
- custom_fields
- date
- time
- date_time
- time_full
- group_id
- element_id
- element_type
- complete_till_at
- task_type
- created_by
- company_name
- leads_id
- customers_id
In this part, I will give detail instructions on how to configure Webhook which helps Magento 2 integrate with amoCRM.
From the Admin Panel, go to System > Webhook > Manage Hooks, select Add New on the right corner, then you will see many options including New Order, New Customer, Update Customer, Delete Customer, etc.
Step 1: Fill all information in the General Information tab
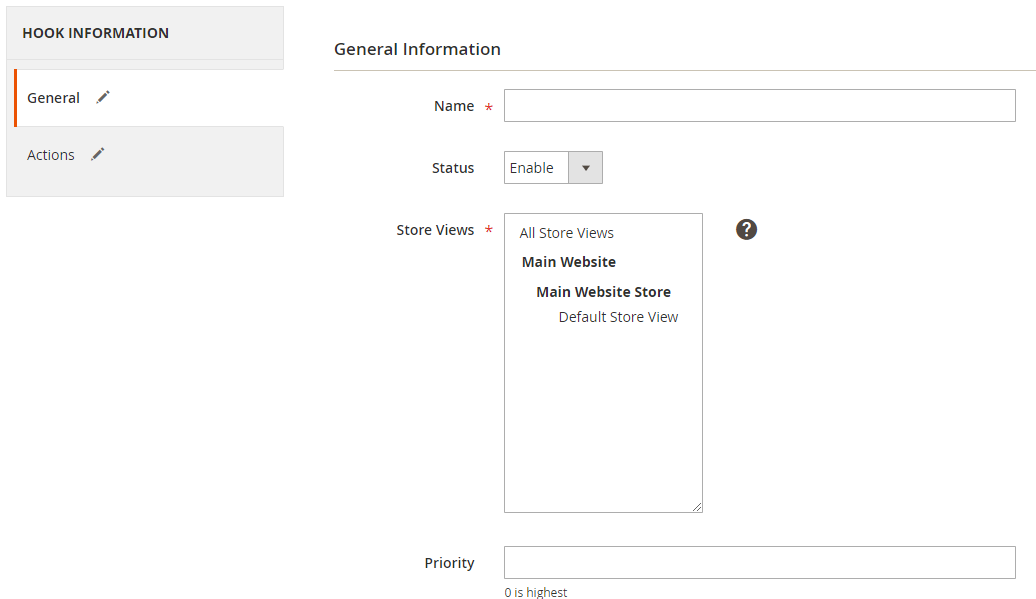
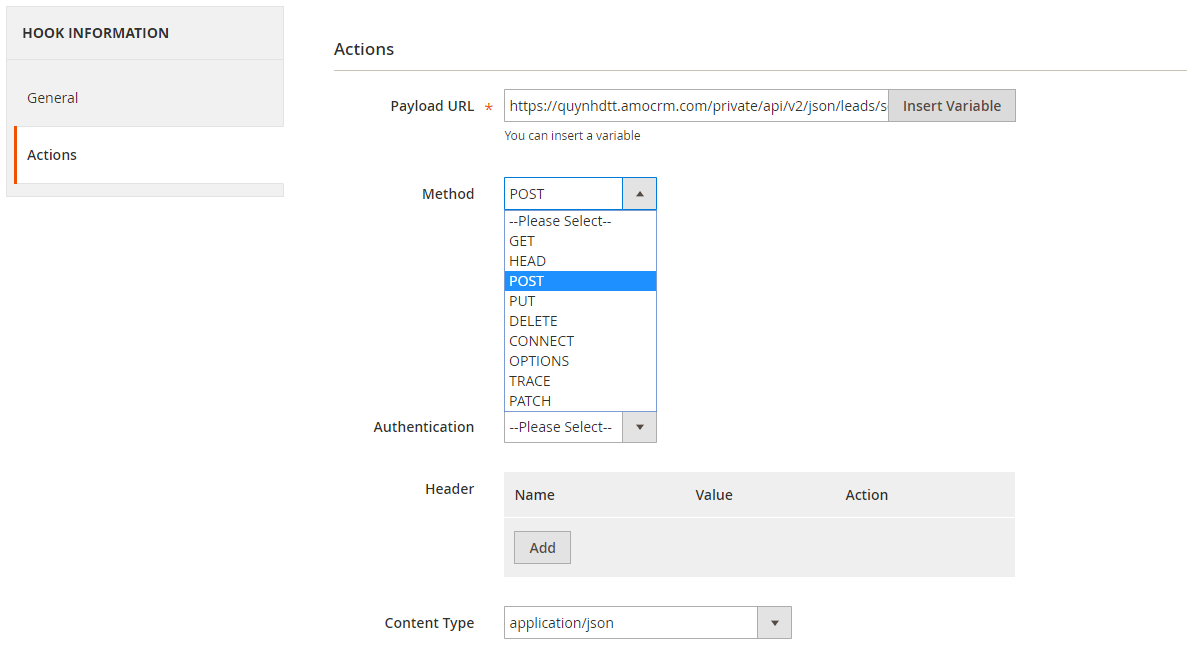
Step 2: Enter the data on the Action tab
Note
-
Payload URL: Use the link from Amocrm which you registered: Method POST:
https://domain.amocrm.com/private/api/v2/json/leads/set?USER_LOGIN={User login}&USER_HASH={The user's key}. Where:- domain: is the domain which you registered in your amoCRM account.
- USER_LOGIN={User login}: {User login} is your email associated with your amoCRM account.
- {The user’s key} is the API Key which you can get from your amoCRM account according to the above instruction
-
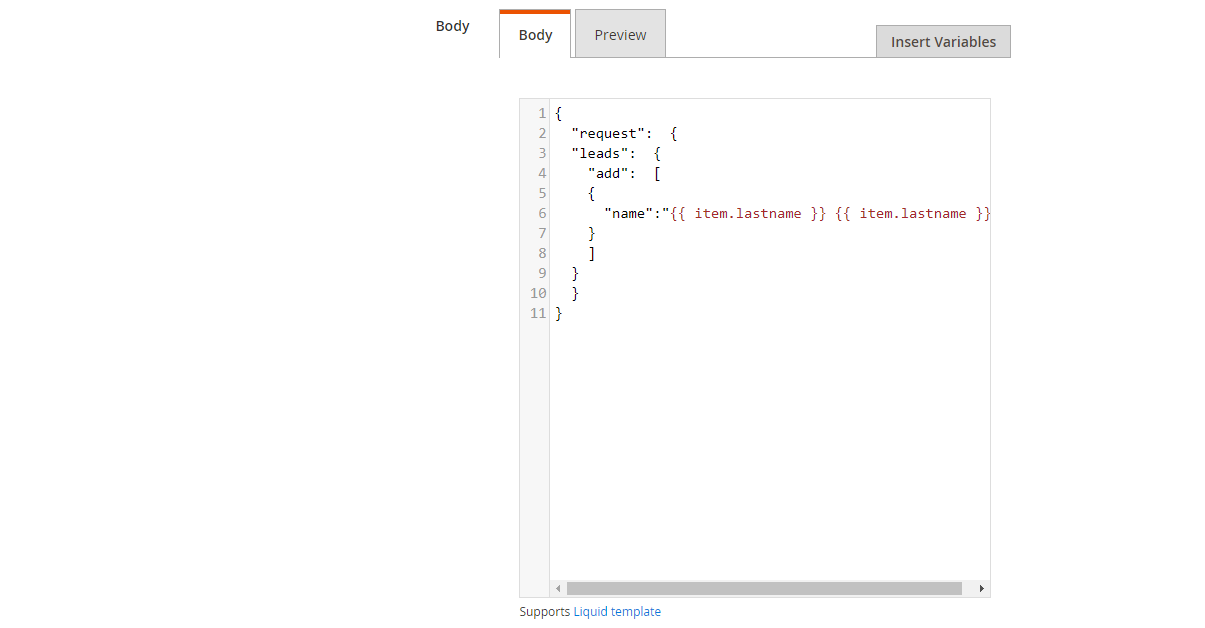
Body: With POST or PUT method, you need to add content on the Content section to send the request. Click Insert Variable to choose variable.
- When you create a new_customer hook in Magento 2 which is integrated with Leads entity in amoCRM, you need to insert the following content into the body part:
 {
  "request":  {
  "leads":  {
    "add":  [
    		{
     			 "name":" "
    		}
   		 ]
  }
 }
}
Note: If you want to get any data field, you need to change the value of this data field with variable coming from Insert Variable.
The results of creating a hook:

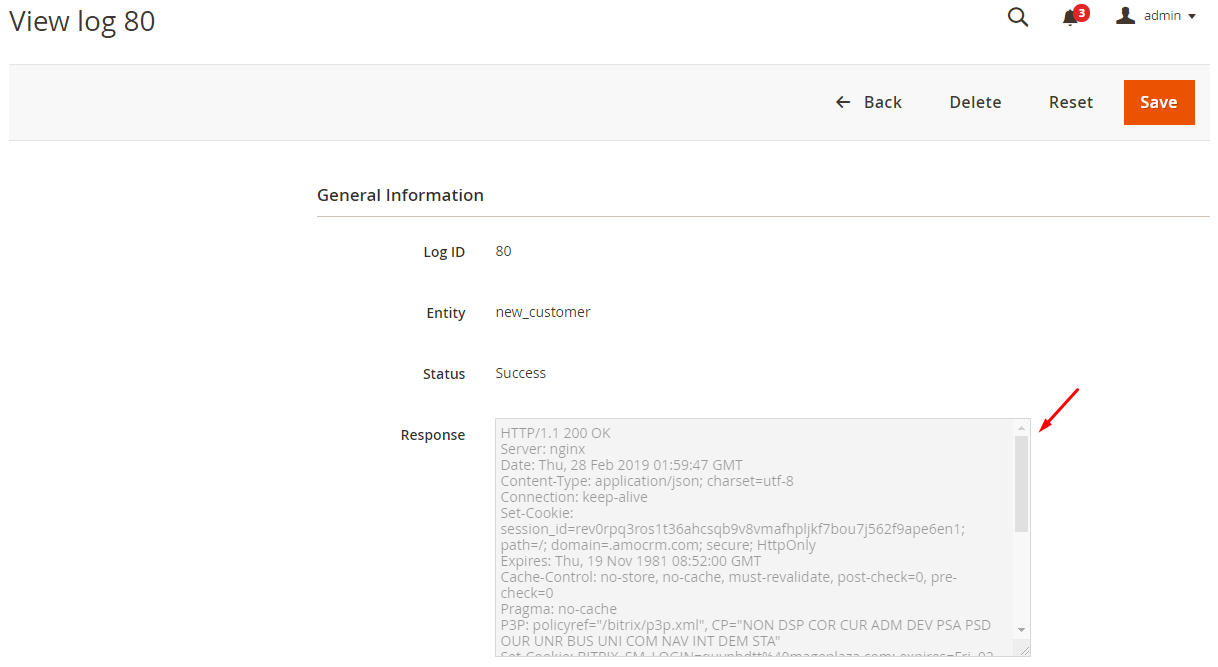
Once you add a new customer, a new order in your store, etc, the data will be saved on Hook Logs:

Click Select > View to redirect to View log page where you can view the data information.
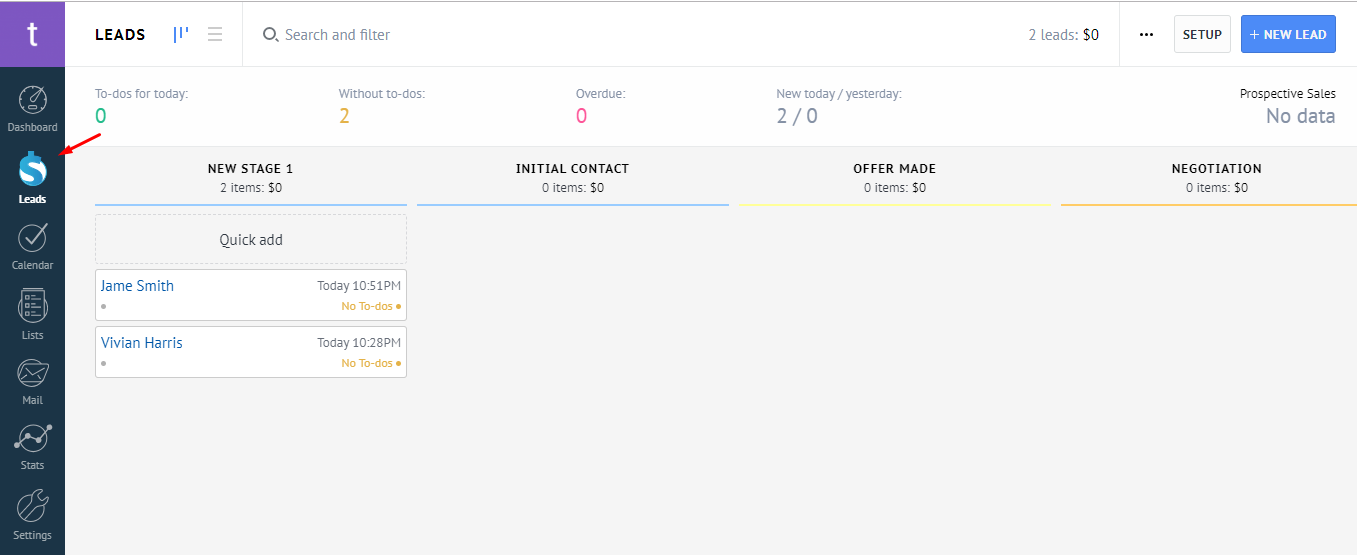
The Result Shown In amoCRM
These Available Body Templates
New Contacts
Endpoint:POST: /private/api/v2/json/contacts/set
- Required fields:
- add/name
- update/id
- update/updated_at
- Optional fields:
- add/created_at
- add/updated_at
- add/responsible_user_id
- add/created_by
- add/company_name
- add/tags
- add/leads_id
- add/customers_id
- add/company_id
- add/custom_fields
- add/custom_fields//id
- add/custom_fields//values
- add/custom_fields//values//value
- add/custom_fields//values//enum
- add/custom_fields//values//subtype
- update/unlink
- update/unlink/leads_id
- update/unlink/company_id
- update/unlink/customers_id
Body template:
    "request":  {
  "contacts":  {
    "add":  [
    {
      "name":" "
    }
    ]
  }
  }
}
Note: If you want to get any data field, you need to change the value of this data field with variable coming from Insert Variable.
Conclusion
In this tutorial, we introduce how to register amoCRM, create Hook with Mageplaza Webhook Extension to integrate amoCRM with Magento 2 via Webhooks. In addition, you can refer to other useful extensions for your store here.
Back Ask Mageplaza