Integrate Mailchimp with Magento 2
Mailchimp is a well-known software which provides email marketing service and marketing automation tools. It helps store owners create, send emails, and manage contacts at ease. Mailchimp is really easy to use with clear navigation and friendly interface. Especially, for online stores which are installed Magento 2, Mailchimp will support store owners to manage their customers and grow their business better by their optimal pricing strategy. Currently, Mageplaza develops Webhook extension which has the ability to integrate Mailchimp with Magento 2, so specific events occurring in Magento 2 can be instantly updated and managed in Mailchimp.
What Is Webhook?
Webhook is a helpful tool which allows online stores to configure to send an API request to a configurable destination (URL) such as other servers or applications in cases trigger events including new order, customer login, abandoned carts, etc occur. As a result, store owners can instantly update important notifications and have suitable activities shortly.
Table of Content
- What Is Webhook?
- About Mailchimp
- How To Integrate Mailchimp With Magento 2 With Webhook
- The Result Shown In Mailchimp
- These Available Body Templates
- Conclusion
Webhook supports the following entities of Magento:
- Customer
- Order
- Invoice
- Shipment
- Credit Memo
- Product
- Category
- Abandoned Cart
These entities of Mailchimp:
- Authorized Apps
- Batch Operations
- Batch Webhooks
- Campaigns
- Conversations
- E-commerce Stores
- Lists
- Templates
How To Integrate Mailchimp With Magento 2 With Webhook
Instructions For Registering And Using Mailchimp:
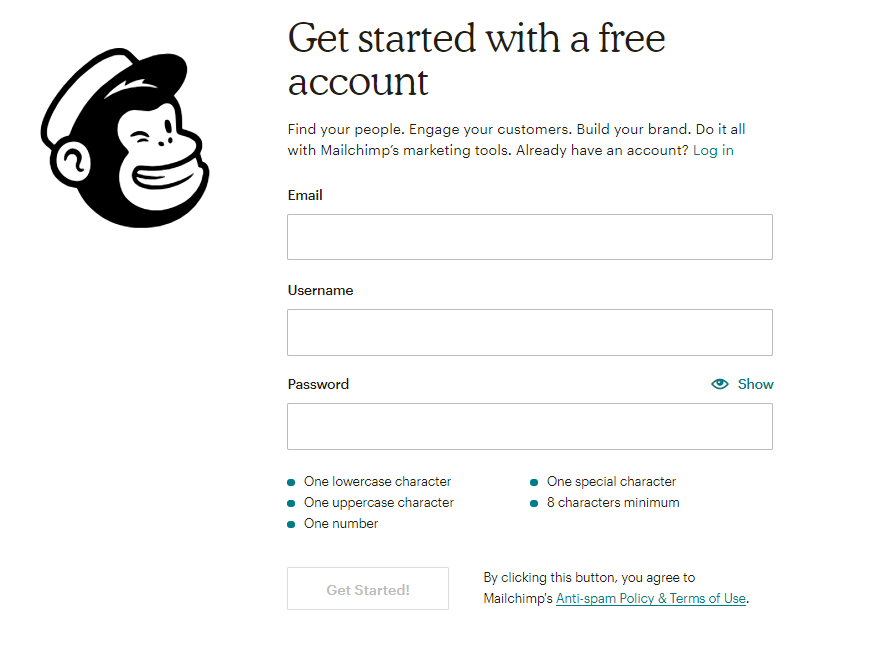
Access here, click the Sign Up Free button. Please type in your Email, Username, and Password, then click Get Started button.
Please check your email associated with your Mailchimp account for the account activation email from Mailchimp Client Services.
Open this account activation email and click the Active Account button.
On the Confirm Humanity screen, click the I’m not a robot box > Confirm Signup.
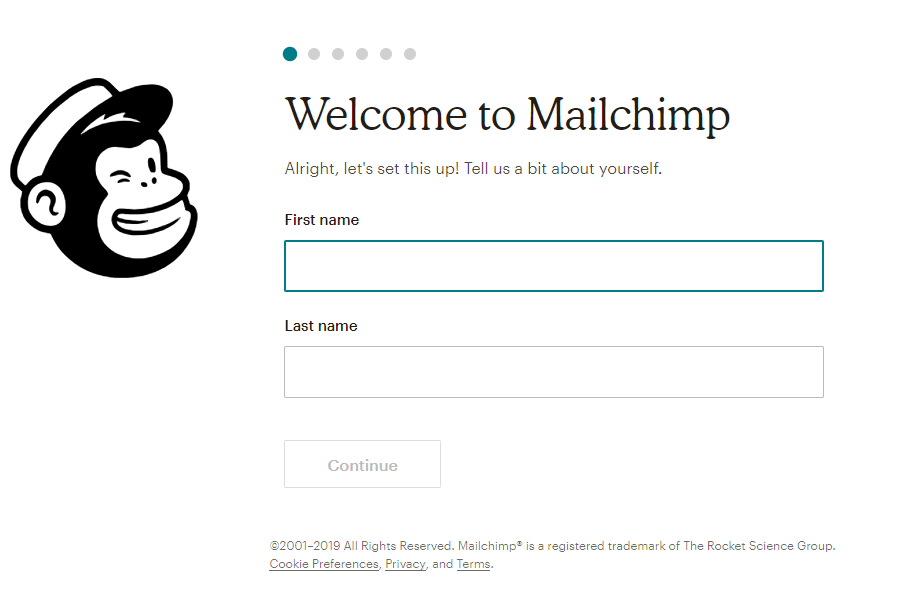
Then, type in the information, follow the prompt.
After signing up Mailchimp account successfully, please click on your account name on the top right corner of the screen > select Account.

Then, click Extras > API keys
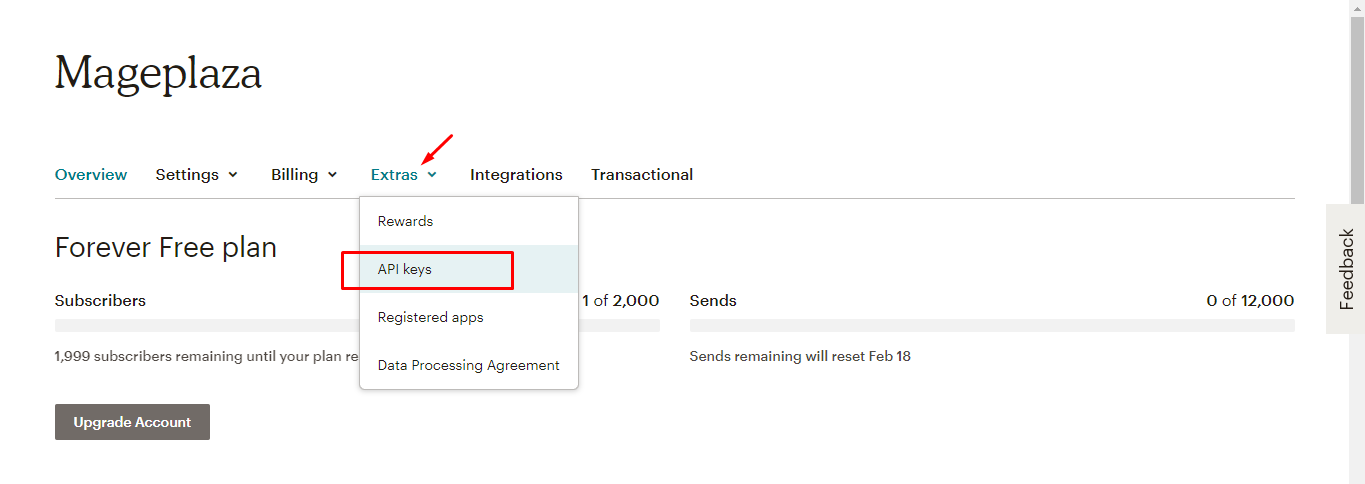
Click the Create A Key button to create your API key

These Fields Of Mailchimp
To view the latest fields of Mailchimp, you can click here
Instructions For Creating Hook
How to create a new member in Mailchimp via Magento 2
Required fields:
- email_address
- Status
Optional fields:
- email_type
- merge_fields
- interests
- language
- vip
- location
- latitude
- longitude
- marketing_permissions
- marketing_permission_id
- enabled
- ip_signup
- timestamp_signup
- ip_opt
- timestamp_opt
- tags
In this part, I will give detail instructions on how to configure Webhook which helps Magento 2 integrate with Mailchimp.
From the Admin Panel, go to System > Webhook > Manage Hooks, select Add New on the right corner, then you will see many options including New Order, New Customer, Update Customer, Delete Customer, etc.
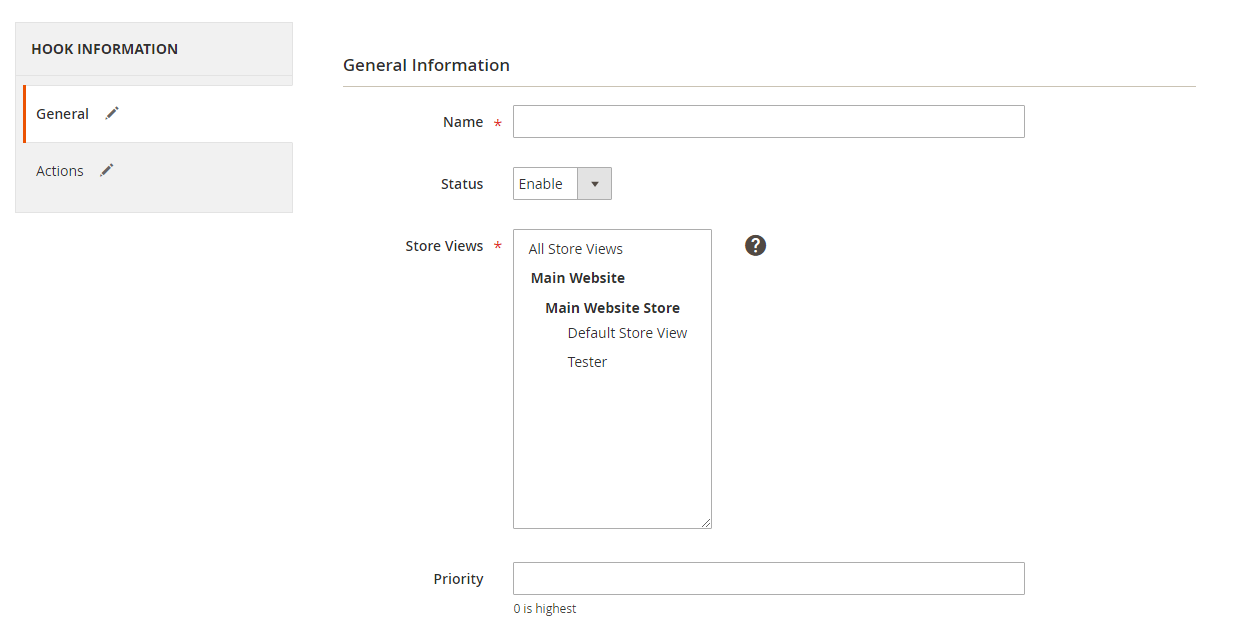
Step 1: Fill all information in the General Information tab
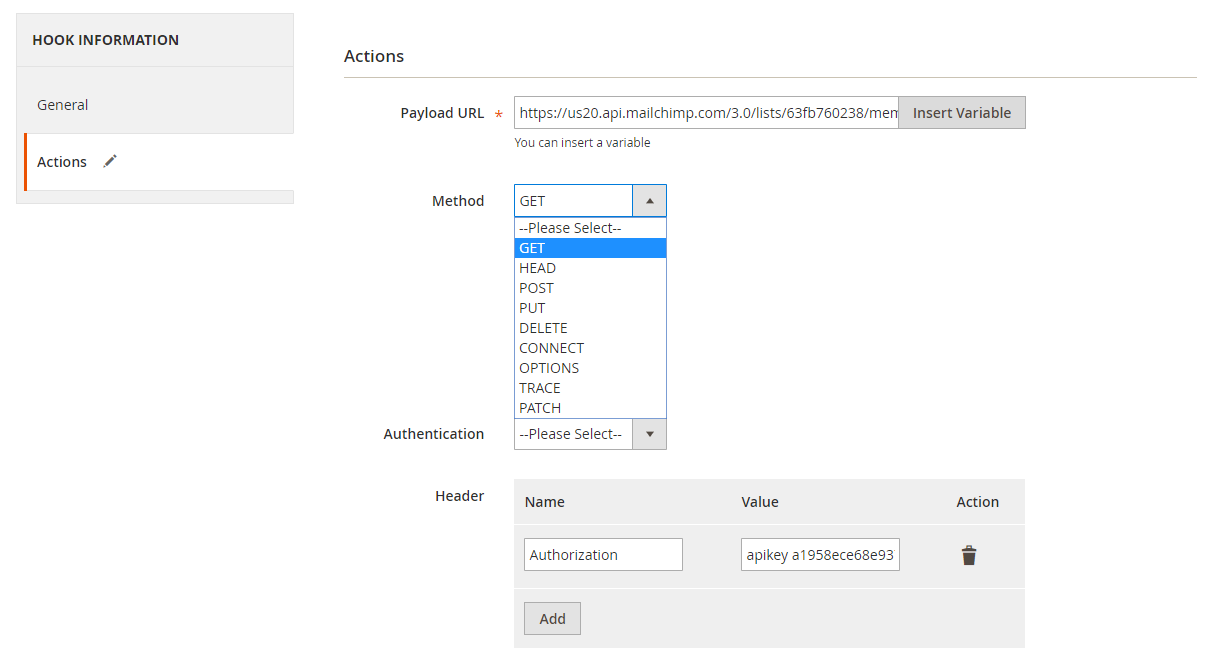
Step 2: Enter the data on the Action tab
Notes:
-
Payload URL: https://usX.api.mailchimp.com/3.0/lists/{list_id}/members, where:
- usX are these characters located after “-” signal in your API Key.
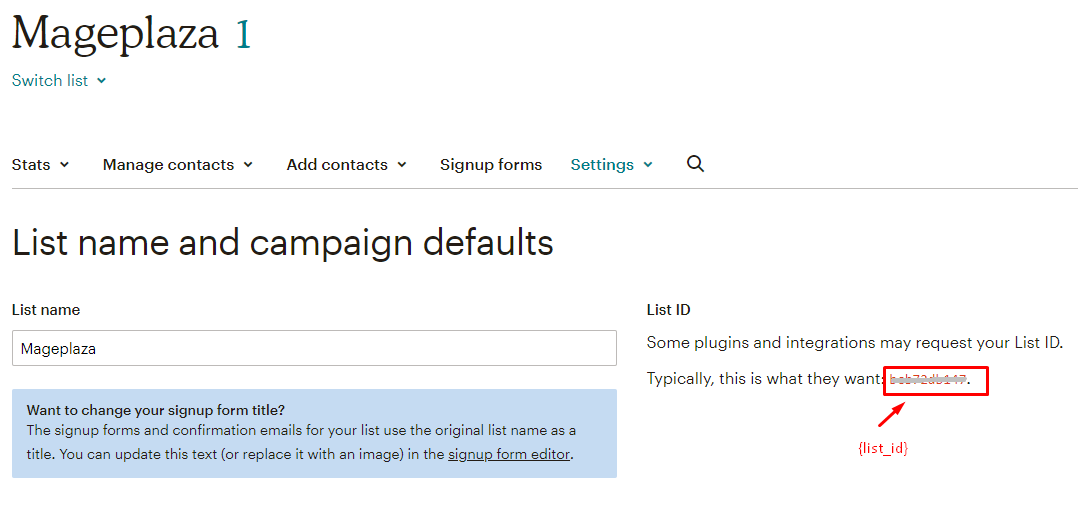
- {list_id} is the id of the list where you want to add members.
- Get {list_id} by clicking Lists > select list where you want to add member > Settings > List name and defaults
- Header:
- Name: Authorization
- Value: apikey your_apikey, with your_apikey is your API key Mailchimp
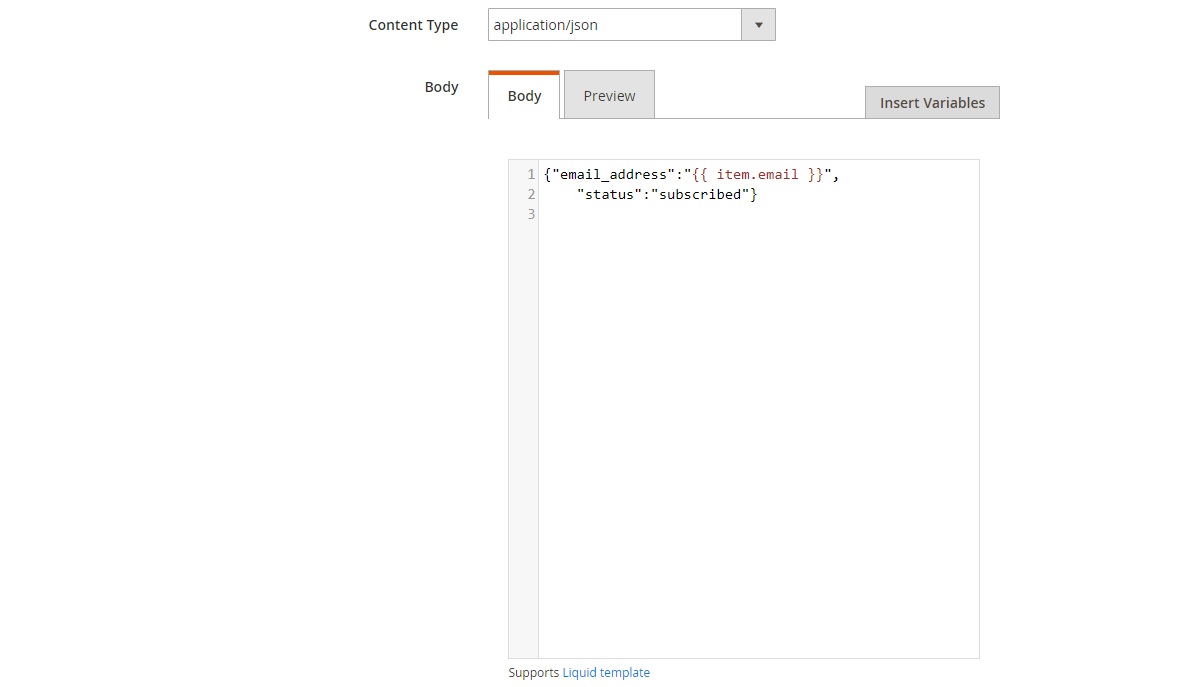
- Body: With POST or PUT method, you need to add content on the Content section to send the request. Click Insert Variable to choose variable.
- For example, when you want to add the member to Mailchimp list, you need to create hook new_customer. With the POST method, you need to insert the following content into Body part:
{"email_address":"example@gmail.com",

        "status":"subscribed"}
Note:
-
If you want to get any data field, you need to change the value of this data field with variable coming from Insert Variable.
-
Your email address has to be valid.
The results of creating a hook:

Once some events of Store such as add new customer, new order, etc occurs, the data will be saved on Hook Logs:

Click Select > View to redirect to View log page, in order to view the data information.
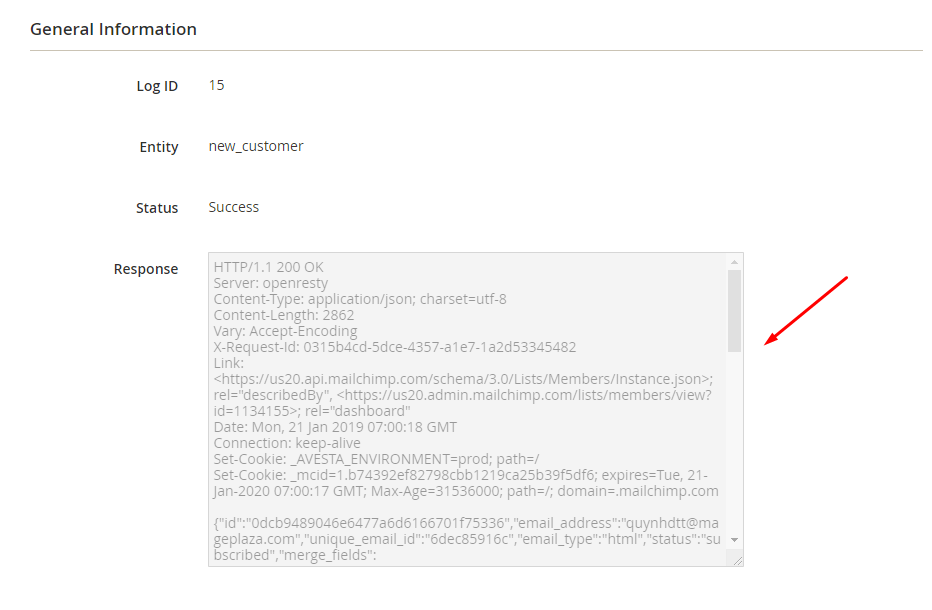
The Result Shown In Mailchimps:
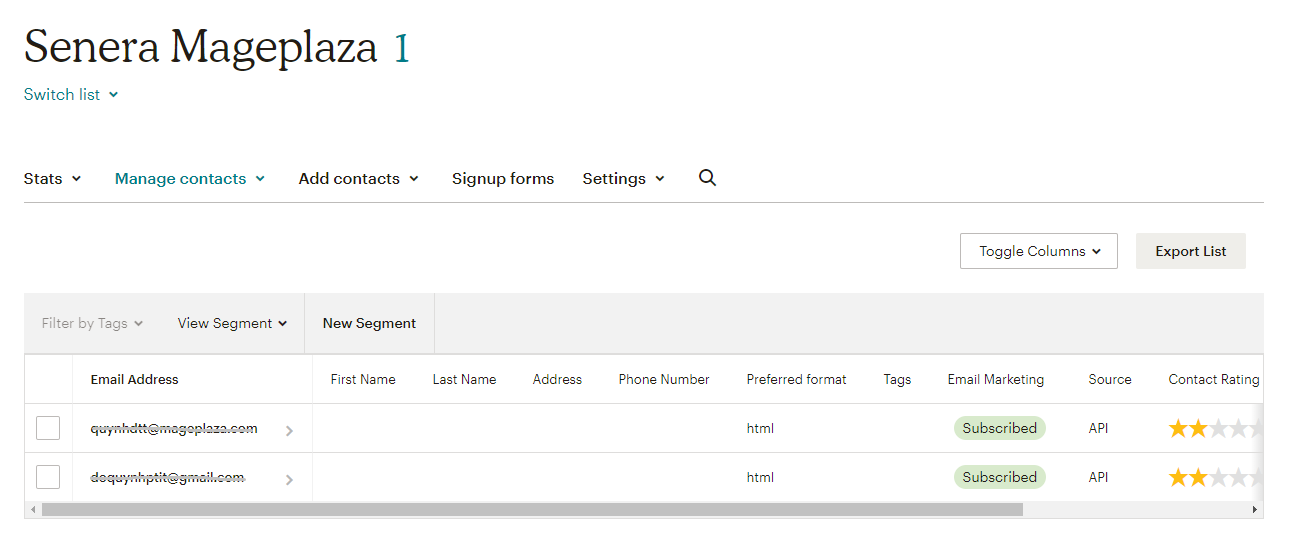
These Available Body Templates
New List:
End point: /lists
Required fields:
- name
- contact
- company
- address1
- city
- state
- zip
- country
- permission_reminder
- campaign_defaults
- from_name
- from_email
- subject
- language
- email_type_option
Optional fields:
- contact
- address2
- phone
- use_archive_bar
- notify_on_subscribe
- notify_on_unsubscribe
- visibility
- double_optin
- marketing_permissions
Body template:
{
"name" : "Freddie",
"contact":
	{
	      "company":"Mailchimp",
	      "address1":"675 Ponce De Leon Ave NE",
	      "address2":"Suite 5000",
	      "city":"Atlanta",
	      "state":"GA",
	      "zip":"30308",
	      "country":"US",
	      "phone":""},
	"permission_reminder":"You're receiving this email because you signed up for updates about Freddie's newest hats.",
	"campaign_defaults":
	      {
		     "from_name":"Freddie",
		     "from_email":"freddie@freddiehats.com",
		     "subject":"",
		     "language":"en"
		     },
              "email_type_option":true
}
Note: If you want to get any data field, you need to change the value of this data field with variable coming from Insert Variable.
Conclusion
In this tutorial, we introduce how to register Mailchimp, create Hook with Mageplaza Webhook Extension to integrate Mailchimp with Magento 2. In addition, you can refer to other useful extensions for your store here.
Explore Mageplaza Webhook now!
Back Ask Mageplaza